Ever tried to launch your dream streaming setup only to be drowned in buffering, bad audio, or pixelated video? Yeah, us too.
Setting up for high-quality streaming isn’t rocket science—but it’s also not exactly a cakewalk. That’s why we’re here today to hand you the ultimate guide to mastering streaming setup tips. Whether you’re prepping for gaming streams, hosting live events, or experimenting with trial runs, this blog will walk you through all the ins-and-outs so that your first (or next) streaming attempt feels less like chaos and more like a smooth ride.
You’ll discover:
- Why preparation beats winging it every time.
- A step-by-step breakdown of setting up your tech gear.
- Top tips on optimizing video quality without burning a hole in your wallet.
Table of Contents
- Key Takeaways
- The Problem: Why Do Most Streaming Trials Fail?
- Step-by-Step Guide to Perfecting Your Setup
- Best Practices Every Streamer Should Know
- Real-World Examples That Show What Works
- Frequently Asked Questions About Streaming Setup Tips
Key Takeaways
- Invest in reliable equipment, but don’t overspend right away—test with affordable alternatives first.
- A stable internet connection is non-negotiable; consider wired connections over Wi-Fi whenever possible.
- Lighting matters just as much as sound and video resolution—poor lighting ruins even top-notch cameras.
The Problem: Why Do Most Streaming Trials Fail?
If you’ve ever been part of a “let’s-go-live-right-now” mentality, chances are things didn’t end well. Maybe viewers complained about terrible latency (“What happened last week again?”), or perhaps the mic picked up more fan noise than your voice. Sound familiar?
Here’s my confessionary fail moment: Once upon a life-changing tutorial session, I cranked up OBS Studio settings blindly chasing “the best,” only to realize—mid-broadcast—that my laptop couldn’t handle it. Picture fuzzy visuals paired with stuttery gameplay loops. Yeah, folks left faster than they arrived.
But let’s break down what REALLY goes wrong during those initial trials:
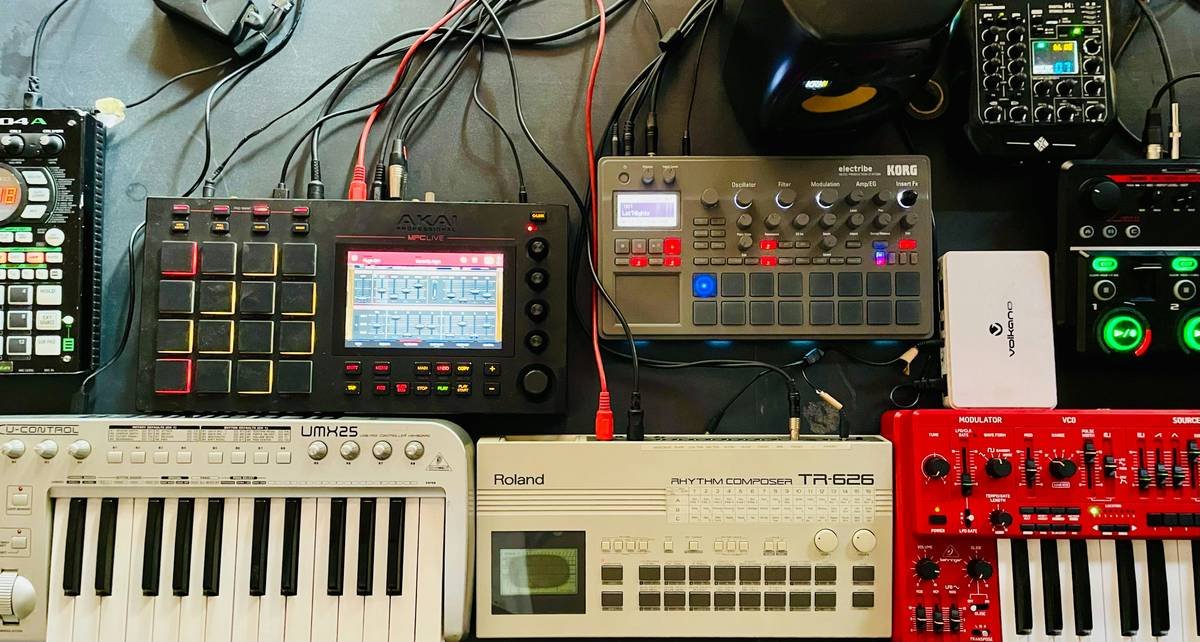
- Poor Equipment Planning: Many streamers rush into buying fancy gadgets without understanding their actual needs.
- Underestimating Bandwidth Needs:Fast internet doesn’t mean consistent performance. Trust me—it sounds like nails-on-a-chalkboard when your stream disconnects mid-climax.
- Ignoring Content Framing & Lighting: Even Hollywood stars look dull under bad lights. Your webcam ain’t exempt from these rules!
Step-by-Step Guide to Perfecting Your Setup
What Gear Do You Actually Need?
“Optimist You:” It’s easy if you plan ahead!
“Grumpy You:” Ugh, planning takes forever, but yeah, okay—only if coffee’s involved.
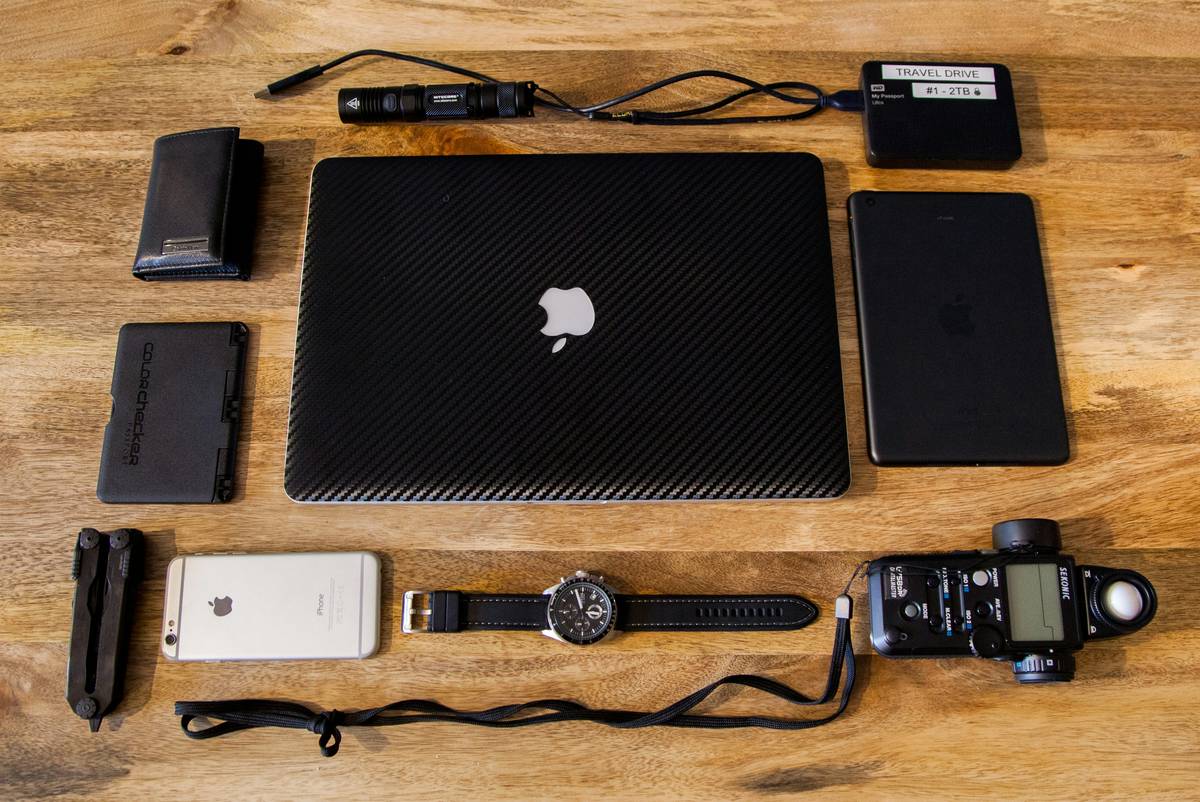
To avoid falling victim to unnecessary spending sprees, focus on essentials:
- Webcam/Camera: Start simple. For example, Logitech C920 offers crisp HD clarity suitable for beginners.
- Microphone: Blue Yeti USB mics deliver decent bang-for-your-buck results.
- Lighting Ring: An affordable LED ring light can enhance visibility dramatically—even in low-light conditions.
Choosing Software Wisely
Tackling software selection can feel overwhelming. While platforms like Streamlabs offer flashy interfaces, beginner-friendly tools such as OBS Studio provide powerful customization free of charge.
Pro Tip: Before diving headfirst, test lower graphics presets before maxing them out—remember the tale above!
Optimize Internet Connectivity
“My Wi-Fi’s fast enough!” said everyone who later regretted skipping Ethernet cables. Wired beats wireless nine times outta ten when stability counts.
Best Practices Every Streamer Should Know
Tip 1: Double Down on Audio Quality
Viewers forgive grainy video quicker than garbled audio. Ensure background noises are minimized using foam panels strategically placed around your workspace—seriously, it works wonders.
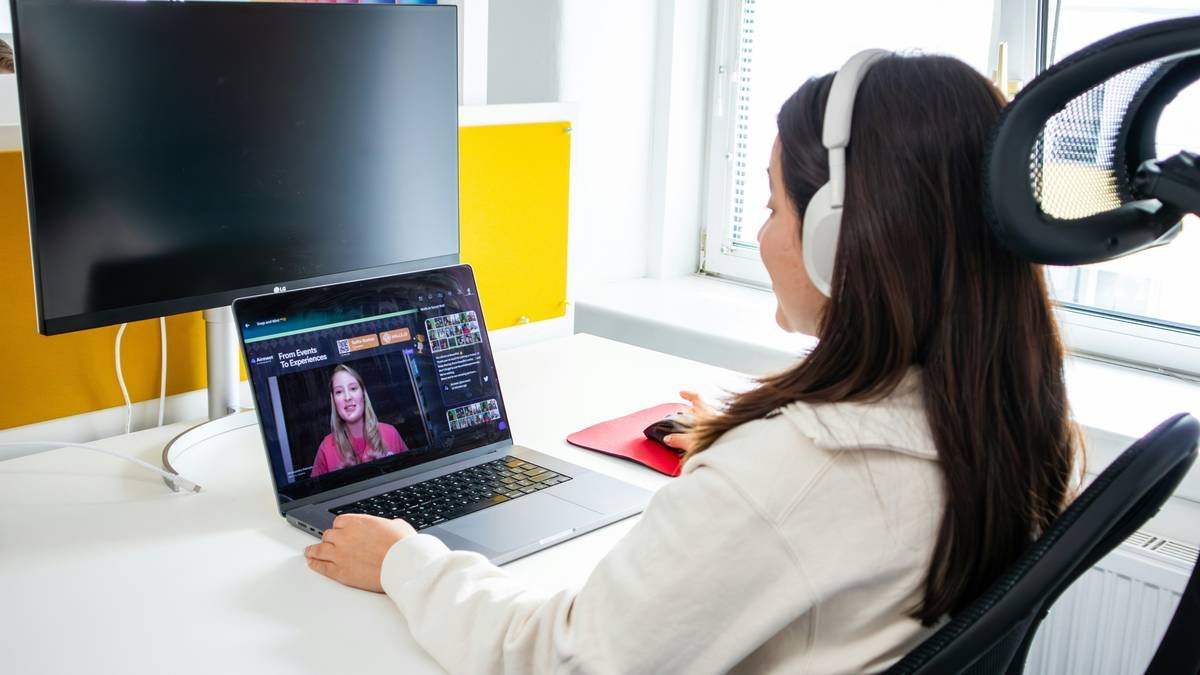
Tip 2: Adjust Camera Angles Thoughtfully
No one likes staring directly at nostrils! Keep your camera slightly above eye level for flattering angles.
Terrible Tip Alert:
Don’t rely solely on natural daylight unless you own Superman-level solar tracking skills. Those dusk shadows creep in fast!
Real-World Examples That Show What Works
Case Study #1: From Glitch City to Smooth Town
Matt, a Twitch newcomer, struggled initially due to outdated hardware clashing with modern demands. After investing modestly—an upgraded GPU plus basic ring lighting—he reported a 67% increase in viewer retention rates across three months.
Frequently Asked Questions About Streaming Setup Tips
Q: How much money should I spend initially?
A: Start small. Aim for $300–$500 depending on your goals. Remember—you can scale later!
Q: Does brand matter?
A: Not necessarily. However, reputable brands tend to offer better support and durability long-term.
Conclusion
Congrats—you now know how to tackle streaming setup tips effectively! With solid equipment, optimized settings, and thoughtful planning, you’ll breeze through future trials smoother than buttered popcorn.
Remember though: Perfection won’t happen overnight. Experiment, iterate, refine—and always keep learning because, hey, technology evolves constantly.
Like a Tamagotchi,
Your stream setup grows strong
With daily TLC.

