Ever tried setting up a streaming rig, only to realize halfway through that you forgot something? You’re not alone. Let’s fix this mess once and for all.
Table of Contents
- Why Is Streaming Setup So Hard?
- Step-by-Step Guide to Streaming Setup
- Tips and Best Practices for Smooth Streaming Trials
- Real-Life Examples of Flawless Setups
- Frequently Asked Questions About Streaming Setup
Key Takeaways
- Your guide to streaming setup will save time and headaches by organizing gear and software.
- Picking the right tools is crucial—skip gimmicks like neon lights if they don’t add value.
- Learn from other streamers’ mistakes before making your own costly missteps.
Why Is Streaming Setup So Hard? (And Why Most People Fail)
I’ll admit it—I was guilty of trying to run my first stream with nothing but an old webcam and some tangled cables. Spoiler alert: It sounded like my laptop fan during a 4K render—whirrrr! The viewers? Nonexistent. Lesson learned? A proper guide to streaming setup would’ve saved me hours of frustration.
Here’s why so many new streamers hit roadblocks:
- Lack of Planning: Jumping into streaming without thinking about hardware compatibility or internet speed.
- Gear Overload: Buying every shiny gadget without understanding what actually works together.
- Tech Jargon: Feeling overwhelmed by terms like bitrate, latency, and codecs when you’re just starting out.
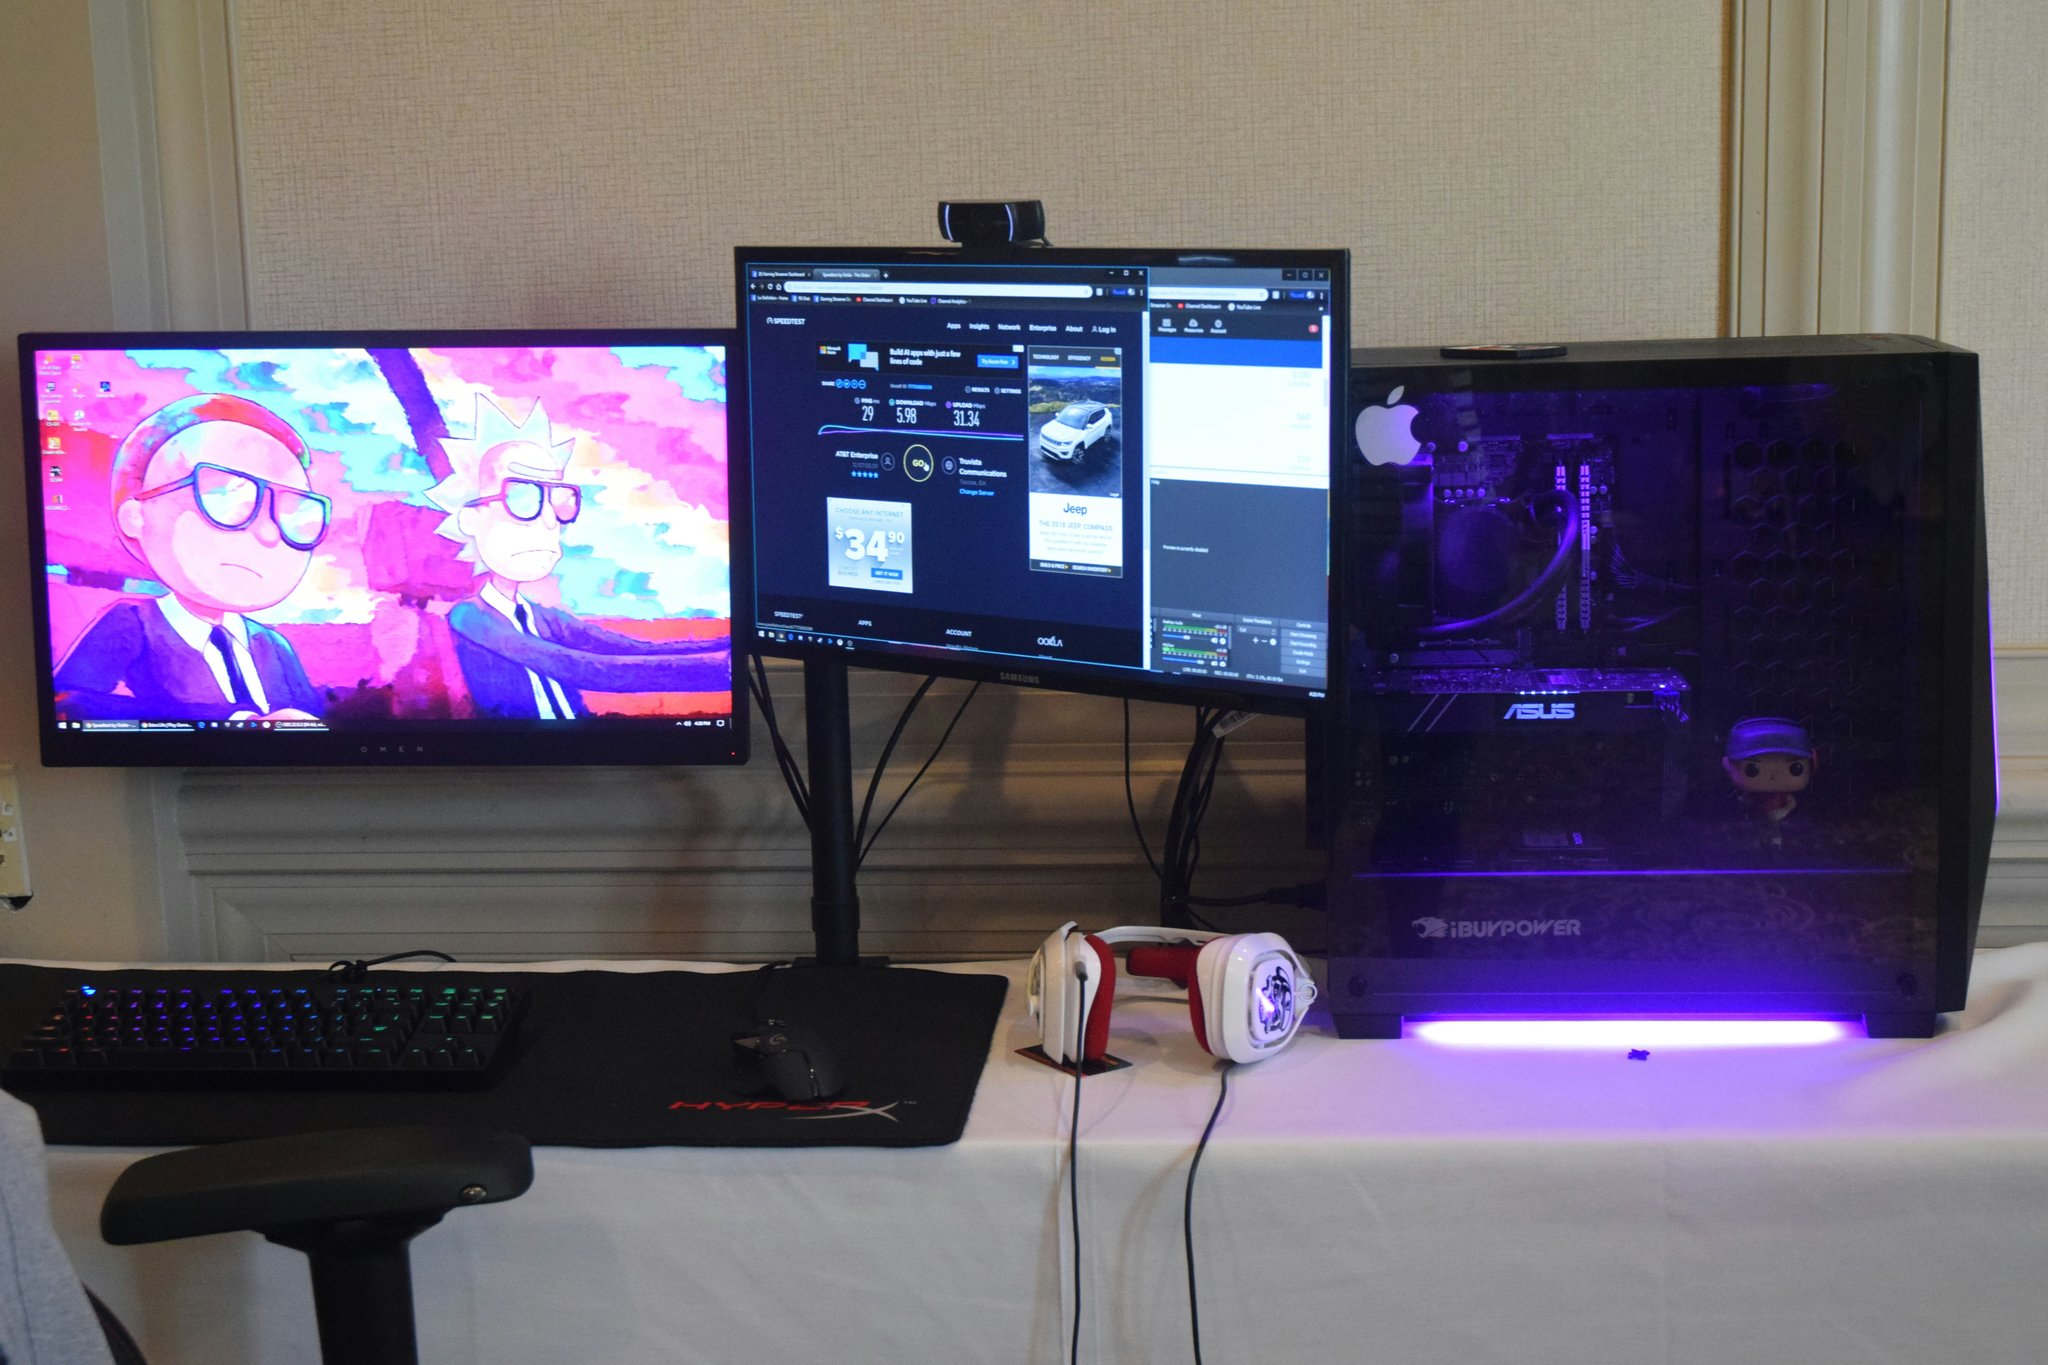
Image: Common pain points in streaming setups include cluttered workspaces and poor audio quality.
Step-by-Step Guide to Streaming Setup
Optimist You: “This is going to be easy!”
Grumpy You: “Yeah, sure… grab another cup of coffee while we figure this out.”
Step 1: Assess Your Space
The foundation of any great stream starts with where you’ll stream from.
- Choose a quiet area free of distractions.
- Ensure good lighting—it can make or break your visuals.
Step 2: Assemble Your Gear
You don’t need to break the bank, but these essentials are non-negotiable:
- Camera: A decent webcam or DSLR for sharp video quality.
- Microphone: Audio matters more than video; invest in a USB condenser mic.
- Lighting: Softbox lights mimic natural light perfectly.
Step 3: Install Software
Use reliable streaming software such as OBS Studio or Streamlabs. These platforms let you customize scenes, overlays, and alerts.
Step 4: Test Everything
Before going live, check:
- Your mic levels and background noise.
- Internet upload speed (aim for at least 5 Mbps).
- All connections between devices and software.

Image: Step-by-step infographic detailing the components needed for a successful streaming setup.
Tips and Best Practices for Smooth Streaming Trials
Terrible Tip Alert: Don’t fall for those overpriced RGB keyboards unless you want to look like a Las Vegas billboard.
Instead, focus on:
- Simplify First: Start minimalistic, then expand as you grow.
- Engage Audiences Early: Use polls and chat prompts to build connections.
- Backup Plans: Always have spare batteries or backup power sources handy.
Real-Life Examples of Flawless Setups
Take inspiration from popular streamers who’ve nailed their setups:
- Ninja: Known for his clean desk layout and consistent branding across streams.
- Shroud: His minimalist approach proves less can indeed be more.
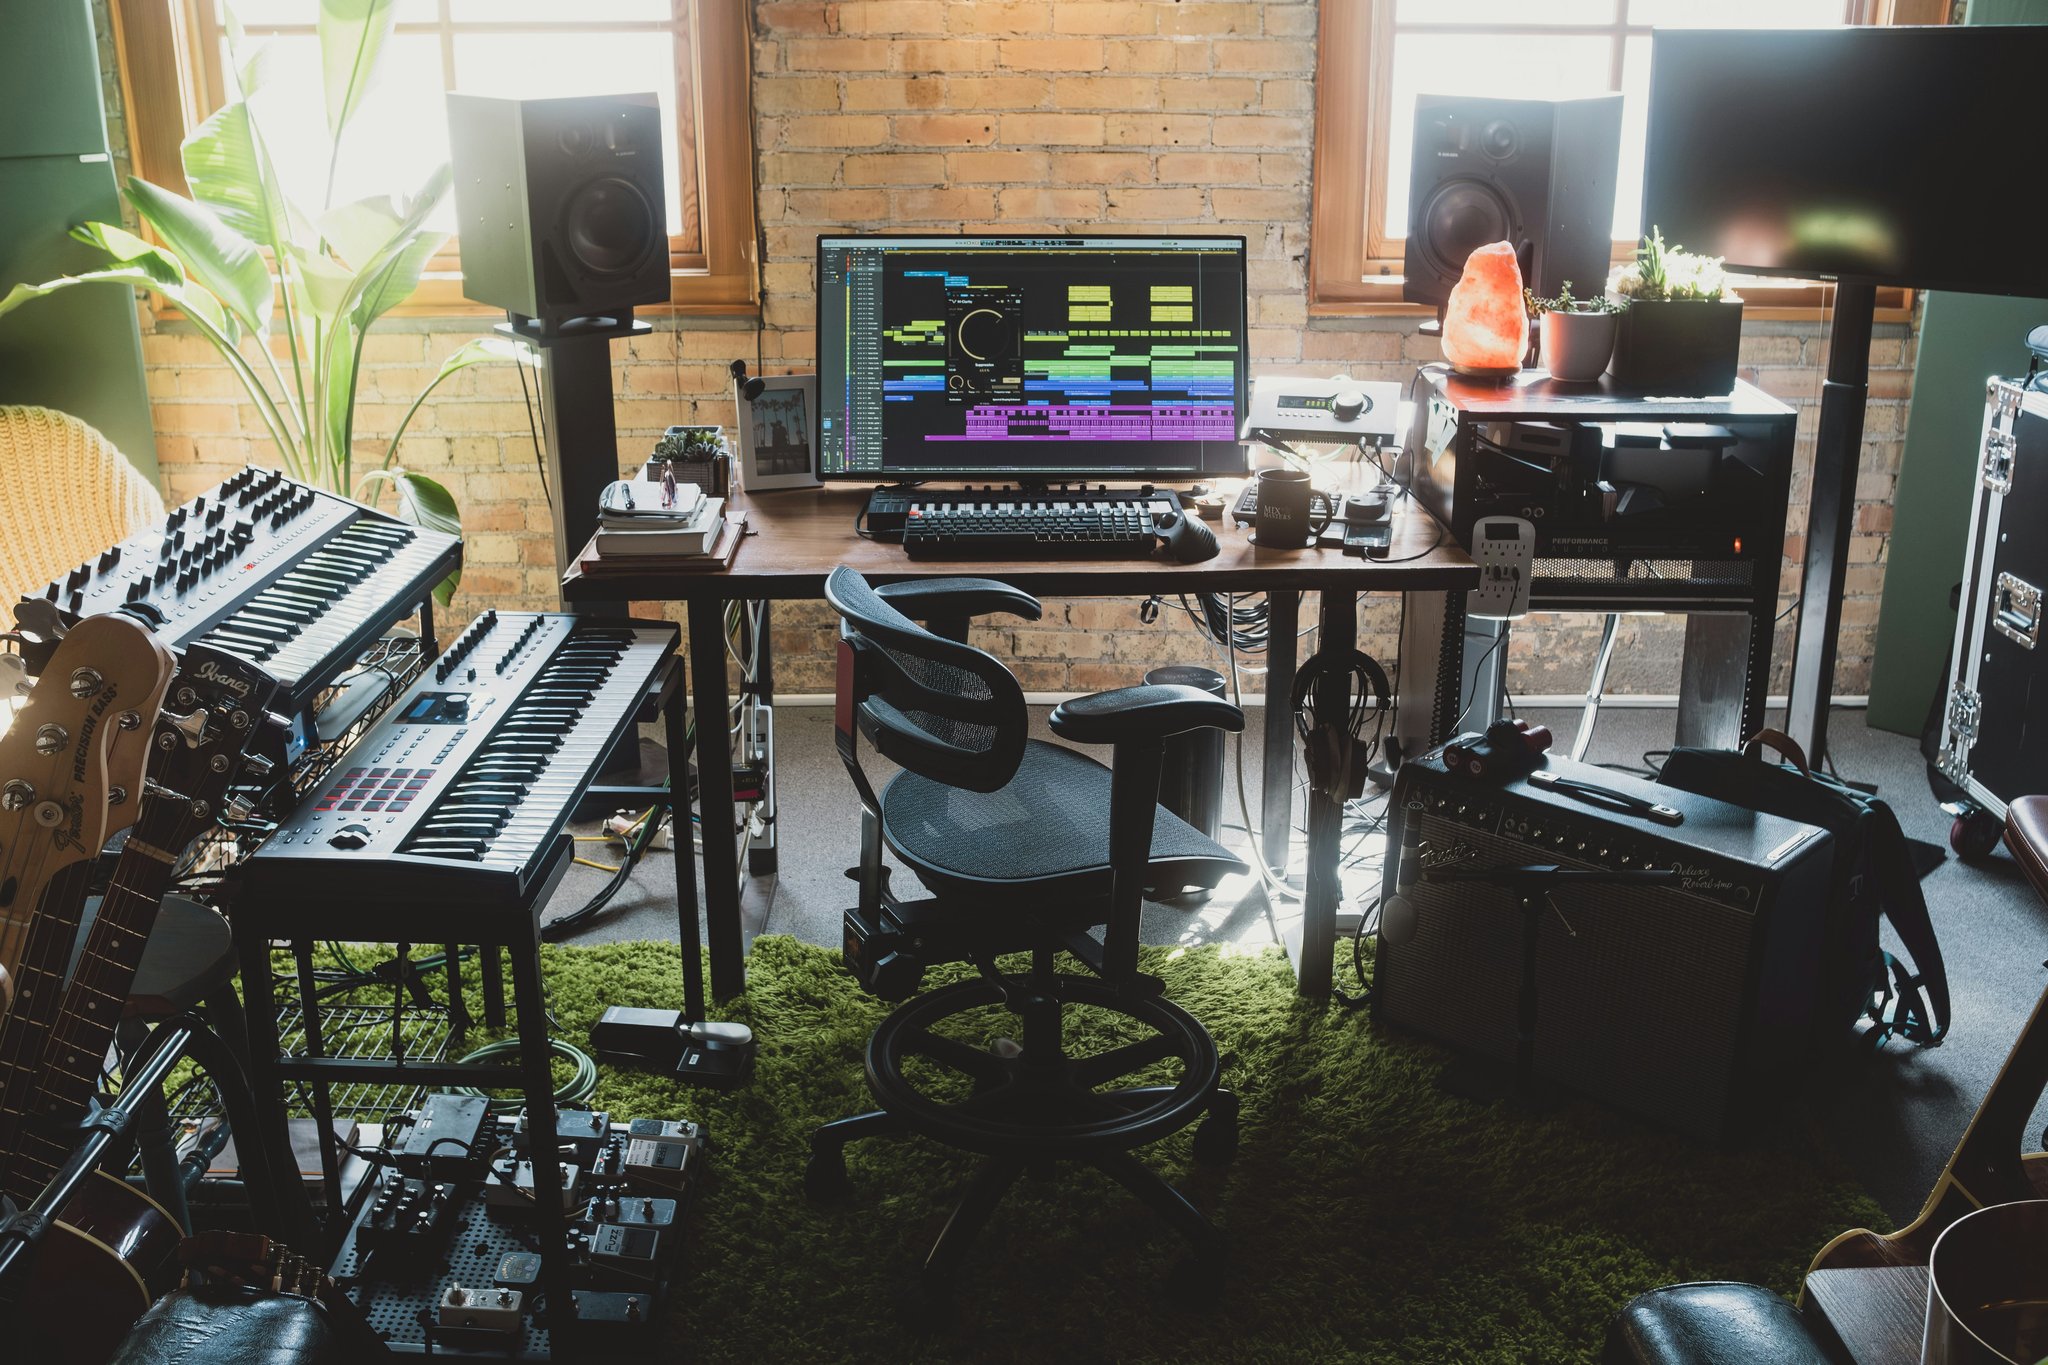
Image: Comparison screenshots highlighting effective techniques used by top streamers.
Frequently Asked Questions About Streaming Setup
How Much Does a Basic Streaming Setup Cost?
Anywhere from $200-$500 depending on your budget and goals. Start small and upgrade later.
Do I Really Need Fancy Equipment?
Nope, start basic. Focus on clear audio and stable internet before buying flashy extras.
What If My Internet Speed Isn’t Great?
Lower your stream resolution and bitrate settings temporarily. Consider upgrading your ISP plan long-term.
Conclusion
A solid guide to streaming setup means skipping unnecessary headaches and diving straight into creating awesome content. From planning your space to testing equipment, remember: slow and steady wins the race.
Like a Tamagotchi, your streaming rig thrives on daily care—clean your lenses, update your software, and keep experimenting.

