“Ever spent 4 hours trying to fix audio glitches during your first stream? Yeah, been there.”
In the world of streaming and media, nailing your streaming software setup can make or break your content game. Whether you’re an aspiring Twitch streamer, a YouTuber testing live formats, or just someone dipping their toes into streaming trials, getting this right is crucial. Today, we’ll walk you through everything from setting up your tools to avoiding rookie mistakes—and even share some brutally honest advice along the way.
You’ll learn:
- The must-have gear for flawless streams
- A step-by-step guide to configuring your software
- Pro tips that actually work (and one terrible tip you should avoid)
Table of Contents
- Why Streaming Software Matters
- Step-by-Step Guide to Perfecting Your Software Setup
- Top Tips Every Broadcaster Needs
- Real-World Success Stories
- FAQs About Streaming Software Setup
Key Takeaways
- Your streaming software setup directly impacts viewer experience—don’t skimp on quality!
- Free options like OBS Studio are great starters, but paid solutions offer advanced features.
- Troubleshooting common issues early saves tons of frustration later.
Why Does Streaming Software Setup Matter?
Imagine investing in top-tier cameras, lights, and mics only to lose half your audience because your video freezes every five minutes. Ouch. That’s where proper streaming software comes in—it ensures smooth broadcasts, minimizes lag, and lets you focus on delivering killer content.

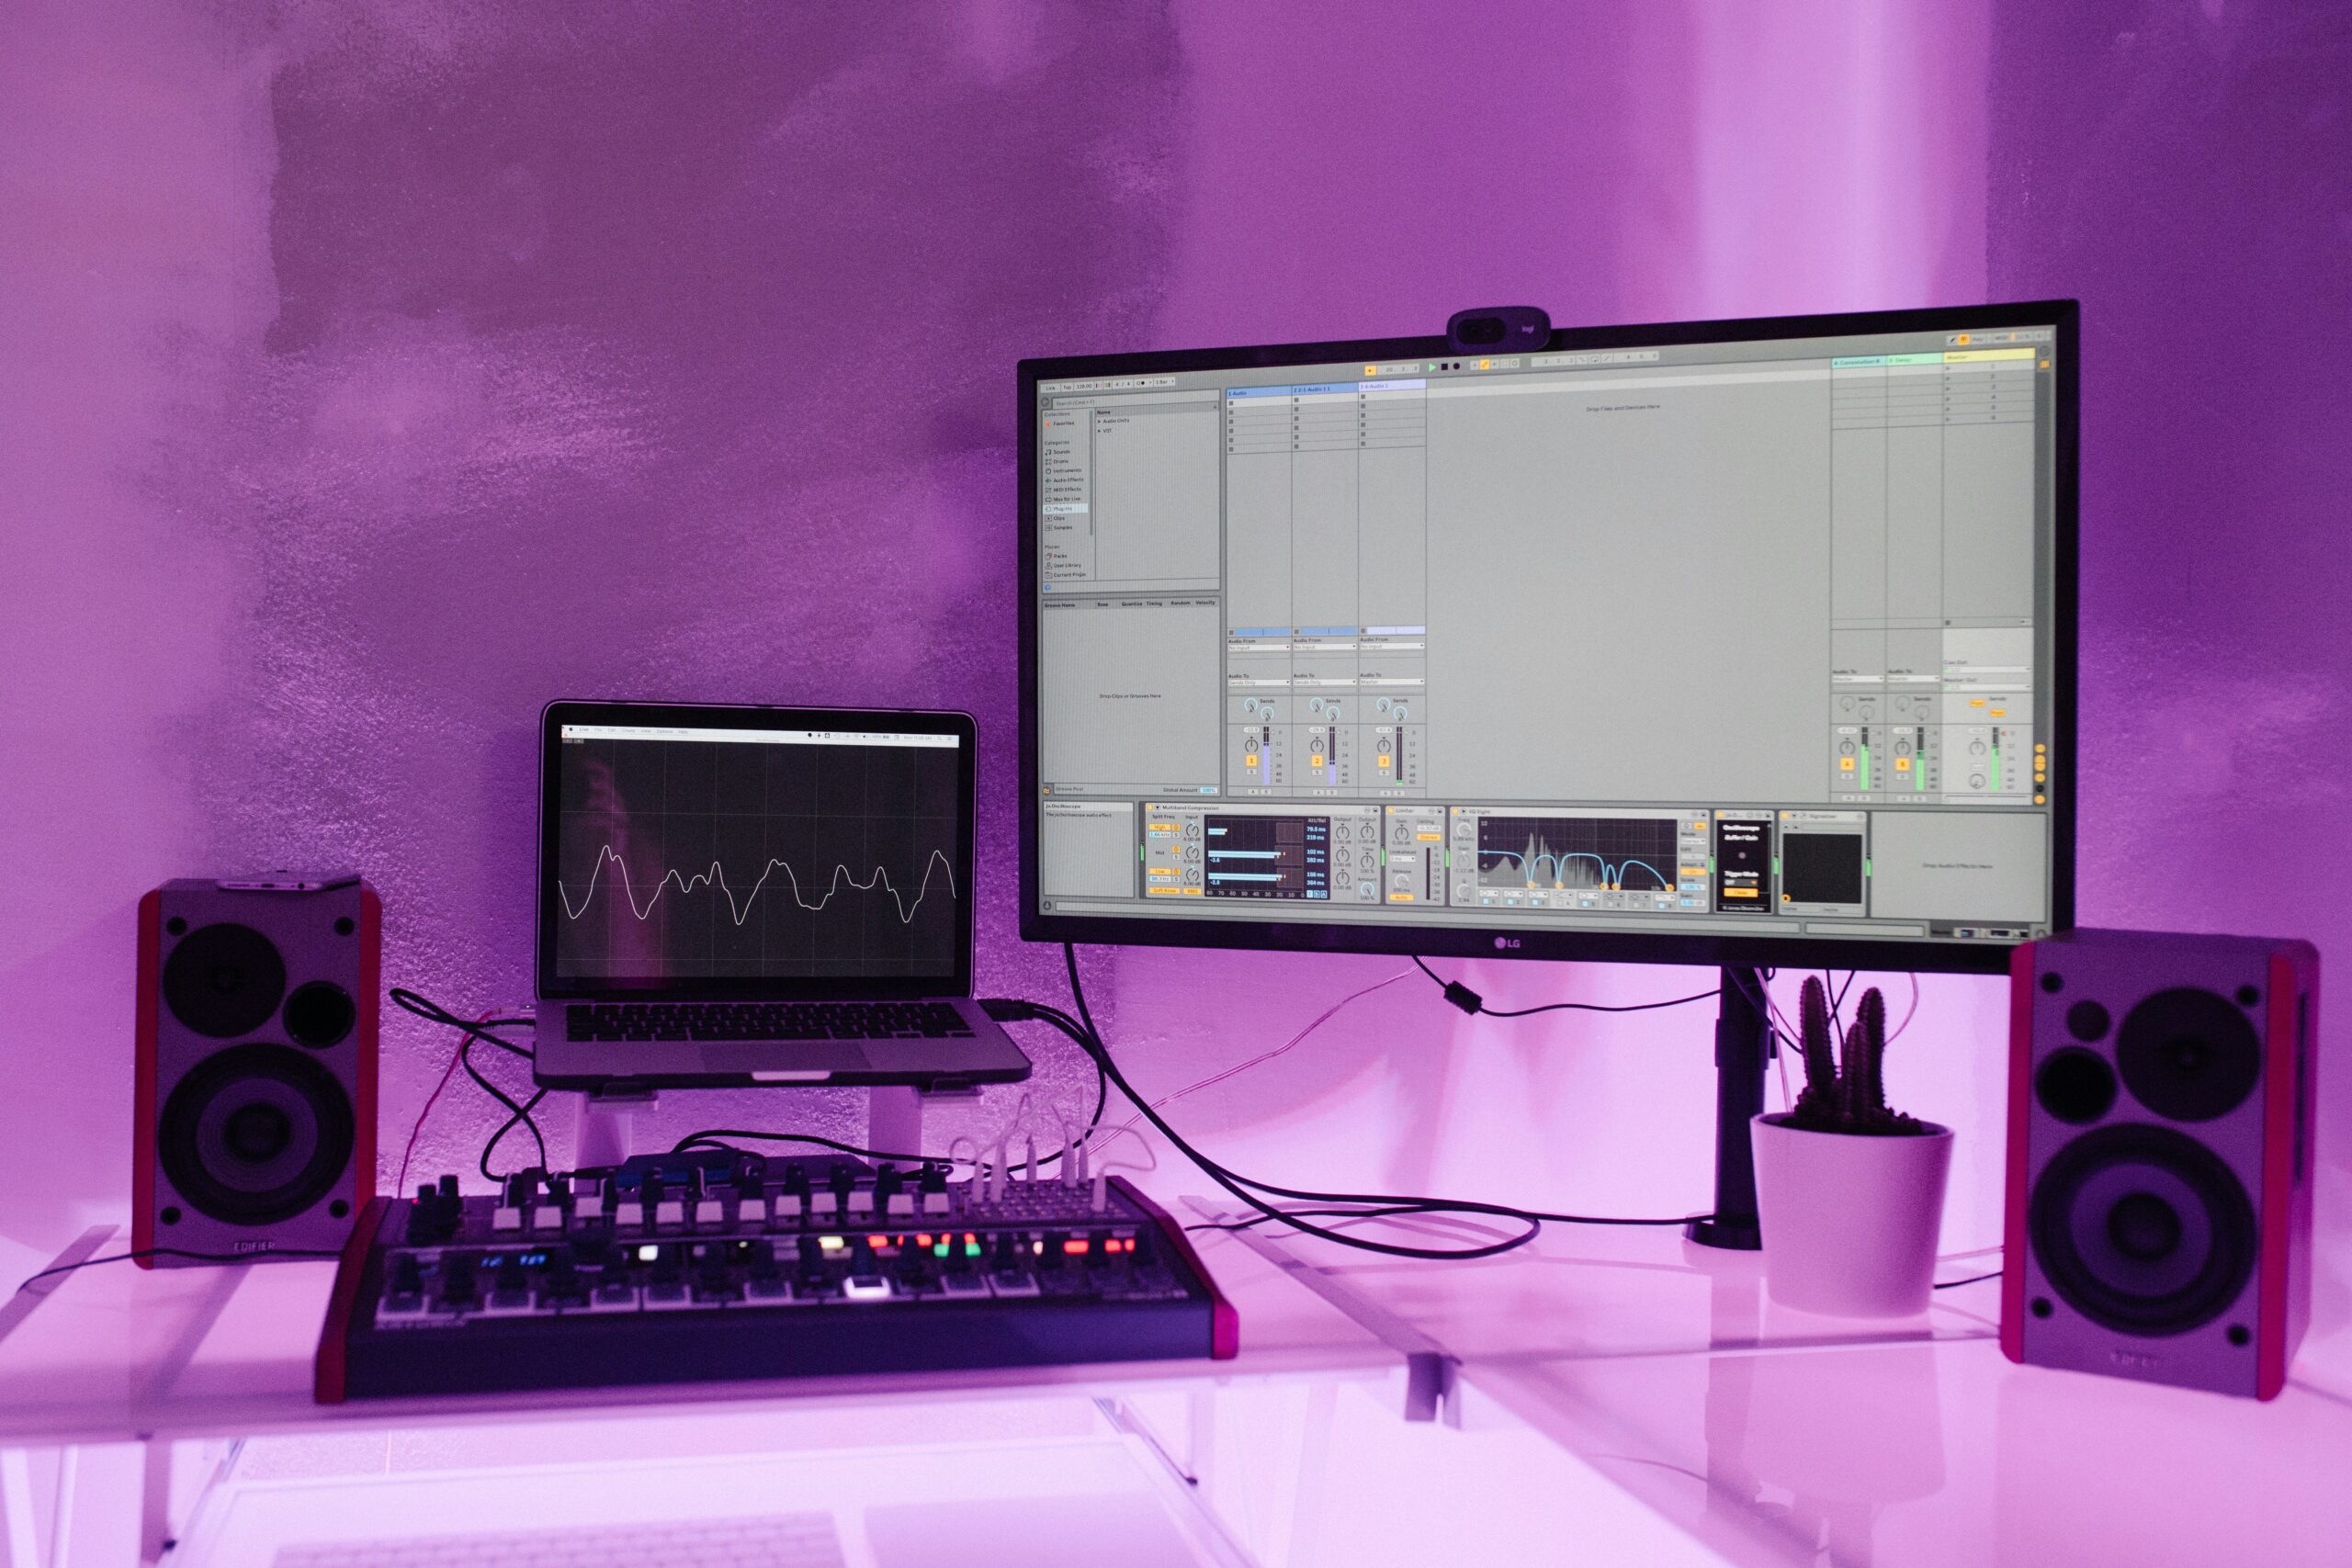
This diagram illustrates how key elements interact in a typical streaming workflow.
Step-by-Step Guide to Setting Up Your Streaming Software
Step 1: Pick the Right Software
Optimist You: “There are so many choices!”
Grumpy You: “Ugh, fine—but only if it doesn’t crash mid-stream.”
Popular options include:
- OBS Studio: Free, open-source, highly customizable.
- Streamlabs: Beginner-friendly interface with integrated widgets.
- vMix: Ideal for professional-grade productions but comes at a cost.
Step 2: Configure Audio Settings
No one likes crackly mic sounds—or worse, zero sound at all. Here’s what you need to do:
- Set sample rate to match your microphone specs (usually 44.1kHz).
- Use noise suppression filters to minimize background static.
Step 3: Optimize Video Output
Your stream’s visual clarity depends on bitrate and resolution. For HD quality:
- Resolution: 1920×1080
- Bitrate: Around 4000–6000 kbps (depending on internet speed).
Step 4: Test Before Going Live
Seriously, test everything twice. Sounds obvious, but trust me—it’s chef’s kiss.
Essential Tips Every Broadcaster Needs
Tip #1: Use Scene Transitions
Create dynamic scene changes between gameplay, facecam, and overlays for a polished look.
Tip #2: Keep Backups Handy
Save extra copies of assets (like logos or intros) in case something goes missing.
Tip #3: Avoid This Terrible Tip!
“Just wing it!” Please don’t. Spontaneous setups lead to disaster faster than a Tamagotchi starves without attention.
Real-World Examples of Successful Streams
Take @StreamerX, who started with basic OBS Studio and grew to 50k followers by mastering scene transitions and interactive overlays. Or consider indie musician @MusicMaker123, whose vMix-powered concerts brought fans closer via crystal-clear audio and multi-camera views.
FAQs About Streaming Software Setup
What’s the Best Free Option Available?
OBS Studio remains king for budget-conscious creators.
Do I Need Expensive Hardware?
Nope. Most modern PCs handle streaming tasks fine—but upgrading RAM helps performance.
My Stream Keeps Buffering. Help!
Lower your bitrate slightly and ensure no other devices hog your bandwidth.
Conclusion
Setting up streaming software isn’t rocket science—but it does require patience and precision. With the steps outlined above, you’re now equipped to tackle any hiccups head-on and create unforgettable streams. Remember: Even pros had awkward beginnings, so give yourself grace while learning.
And hey, here’s a bonus haiku to cap things off:
Streams flow smooth tonight,
Lag left far behind us now,
Cheers to good tech vibes.