“Ever spent an entire Saturday night troubleshooting your streaming setup only to end up with pixelated video and choppy audio? Yeah, us too.”
If you’ve ever felt like your streaming trials were more exhausting than rewarding, this guide is for you. In this post, we’ll walk you through streaming setup instructions step-by-step so that even if tech isn’t your strong suit, you can still look like a pro. By the time you’re done reading, you’ll know how to assemble a top-notch streaming rig, avoid rookie mistakes, and troubleshoot common issues without losing your sanity.
We’ll also dive into:
- The core components of every winning streaming setup.
- Actionable steps and tools to streamline your process.
- Expert tips on optimizing performance—no jargon overload!
Table of Contents
- Key Takeaways
- The Pain Points of Streaming Trials
- Step-by-Step Guide to Setting Up Your Stream
- Pro Tips & Best Practices for Success
- Real-World Examples That Inspire
- FAQs About Streaming Setup Instructions
Key Takeaways
- A well-planned streaming setup involves hardware (camera, mic, lighting), software (OBS, Streamlabs), and internet reliability.
- Avoid overloading plugins or relying solely on free tools—they might save money but cost you quality.
- Optimize settings based on your audience size; less bandwidth ≠ lower quality.
The Pain Points of Streaming Trials
Let’s be honest: the world of streaming trials comes with some epic fails. One time, I hooked up my camera backward during a live session. The result? A blurry mirror image that made viewers think they were watching The Upside Down from Stranger Things. Brutal.
And let’s not forget the sensory assault when your laptop sounds like it’s hosting a rock concert while rendering 4K streams: whirrrr-click-click-boom.
If any of these scenarios sound familiar—or give you anxiety—know this: setting up a smooth streaming experience doesn’t have to feel impossible. With the right streaming setup instructions, anyone can transform their chaotic trial runs into polished productions.
Step-by-Step Guide to Setting Up Your Stream
What Equipment Do You Need?
“Optimist You”: “Follow these recommendations!”
“Grumpy You”: “Ugh, fine—but only if coffee’s involved.”
Your dream setup starts here:
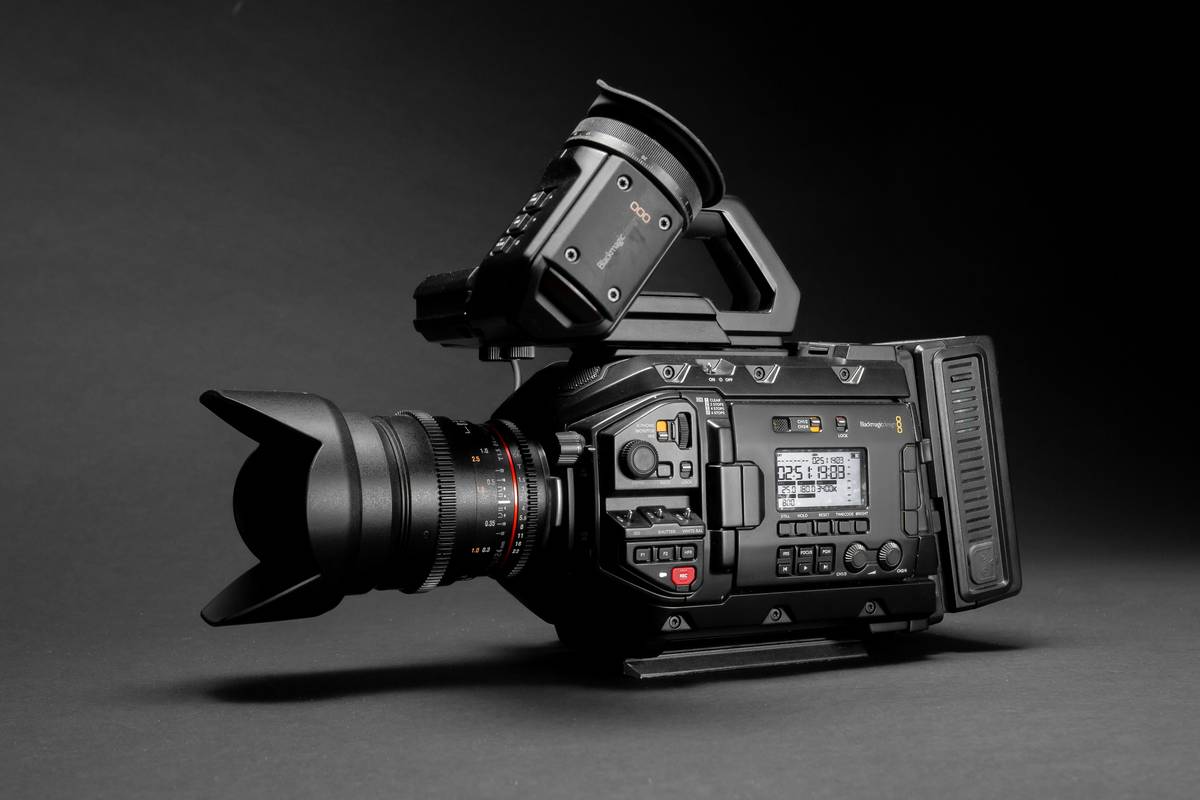
- Camera: Invest in something mid-range like the Logitech C920. It delivers solid HD quality without breaking the bank.
- Microphone: Audio matters just as much as visuals. Blue Yeti mics are beginner-friendly and versatile.
- Lighting: Ring lights aren’t just Instagram trends—they make all the difference for crisp visuals.
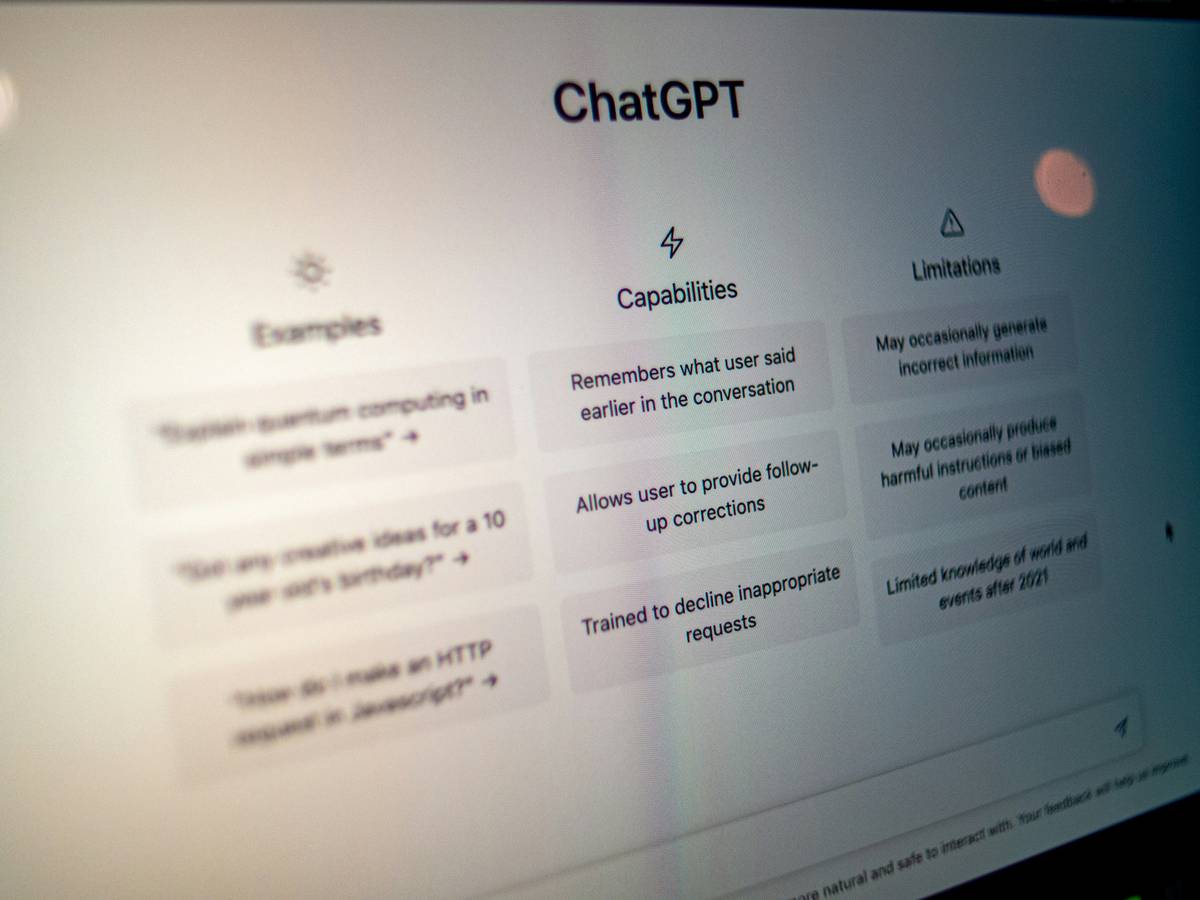
- Software: Download OBS Studio (free, open-source) or explore paid options like Streamlabs for advanced features.
Setting Everything Up (Without Losing Patience)
- Connect your camera and mic to your PC/Mac.
- Open your chosen software and configure input sources (video feed + audio).
- Adjust brightness using natural or artificial lighting. Test angles before going live.
- Run a test stream to check for lag, distortion, or other issues.
Troubleshooting Common Issues
- Choppy Video: Lower your bitrate or upgrade your internet plan.
- No Audio Output: Check device permissions in both your OS and streaming app.
- Poor Lighting: Position your light source behind/beside your camera instead of behind you.
Pro Tips & Best Practices for Success
#ChefTipsOnly: Follow these strategies to level up your game:
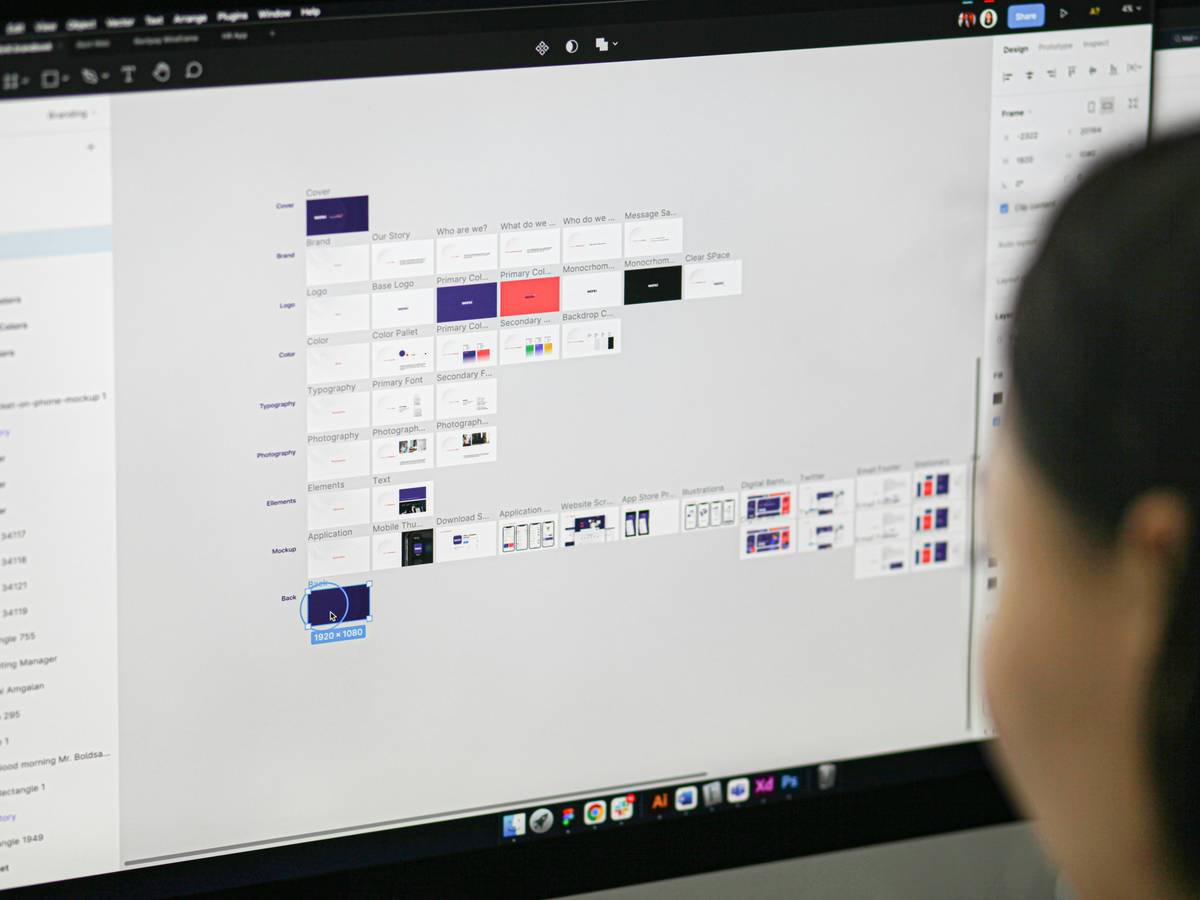
- Stick To Consistent Branding: Whether it’s overlays or backgrounds, keep your aesthetic cohesive.
- Engage Early & Often: Start interacting within the first five minutes to hook viewers.
- Skip Free Tools If Possible: Terrible Tip Alert: Don’t rely exclusively on freeware unless absolutely necessary—it often lacks support and polish.
Rant Section: Why does nobody talk about upload speed?! Forget download speeds—your ISP is probably lying about what you’re actually getting. Invest in a wired connection instead of Wi-Fi if streaming stability is non-negotiable.
Real-World Examples That Inspire
Case Study #1:
Joe “StreamerPro” Johnson went from zero subs to 5k+ by investing $300 in basic gear and tweaking his OBS settings nightly. His secret sauce? He focused on improving one issue at a time rather than trying to fix everything at once.
Case Study #2:
LilaLive mastered her streaming setup instructions by creating a dedicated home studio with LED strips, custom overlays, and dual monitors. Within six months, she landed sponsorships worth thousands monthly.
FAQs About Streaming Setup Instructions
Q: What’s better for beginners—Streamlabs or OBS?
A: Both work great, but Streamlabs has a user-friendly interface ideal for newbies. However, OBS offers more customization.
Q: Can I stream directly from my phone?
A: Yes! Apps like Restream allow mobile broadcasting. But for higher-quality streams, use a computer setup.
Q: How do I improve my audio quality?
A: Use a dedicated USB mic, minimize background noise, and adjust gain levels in your streaming software.
Conclusion
With these streaming setup instructions, you’re now armed with everything needed to elevate your streaming trials from frustrating to flawless. Remember: progress beats perfection. Tweak as you go, learn from your mistakes, and soon enough, you’ll be the envy of Twitch chat.
“Like Mario Kart multiplayer mode, your streaming journey is unpredictable—but always worth the ride.”
(And yes, that was our mandatory nostalgic callback.)
Haiku Time: Pixels dance in sync / Mic hums softly through cyberspace / Dreams go live tonight.

