Ever spent hours tweaking your streaming setup just to get choppy video and laggy audio? Or worse—realized halfway through a trial stream that your lighting looks like it came straight out of a horror movie? Yeah, us too. But don’t worry, we’ve got you covered.
In this ultimate streaming setup guide, you’ll learn the ins and outs of building a smooth, professional-grade streaming rig—whether you’re doing game streams, tutorials, or virtual events. From gear recommendations to troubleshooting tips, buckle up as we dive into everything you need to ace your next streaming trial.
Table of Contents
- Why Does a Solid Streaming Setup Matter?
- Step-by-Step Guide to Building Your Streaming Setup
- Pro Tips for Streamlining Your Trials
- Real Success Stories: What Worked for Them
- FAQs About Streaming Setups
Key Takeaways
- A well-planned streaming setup can save hours on tech issues during trials.
- Your choice of equipment impacts both quality and performance.
- Lighting and audio are often overlooked but super critical for success.
Why Does a Solid Streaming Setup Matter?
Imagine investing in an expensive gaming PC but using a cheap webcam from 2008. Ouch. The mismatch creates a jarring experience for viewers, even if the gameplay itself is epic. A cohesive and thought-out streaming setup ensures consistency across visuals, audio, and overall production value.
Here’s why nailing your streaming setup guide matters:
- First Impressions: Like the cover of a book, your stream’s visual appeal hooks—or loses—your audience instantly.
- Technical Performance: Proper hardware and software reduce latency and buffering, keeping your stream smooth.
- Professionalism: Viewers expect high-quality content. Even small upgrades make a big difference in perceived value.
Step-by-Step Guide to Building Your Streaming Setup
What Gear Do You Actually Need?
Optimist You: “Let’s buy all the shiny gadgets!” Grumpy You: “Ugh, fine—but only if coffee’s involved.” Here’s how to start smart:
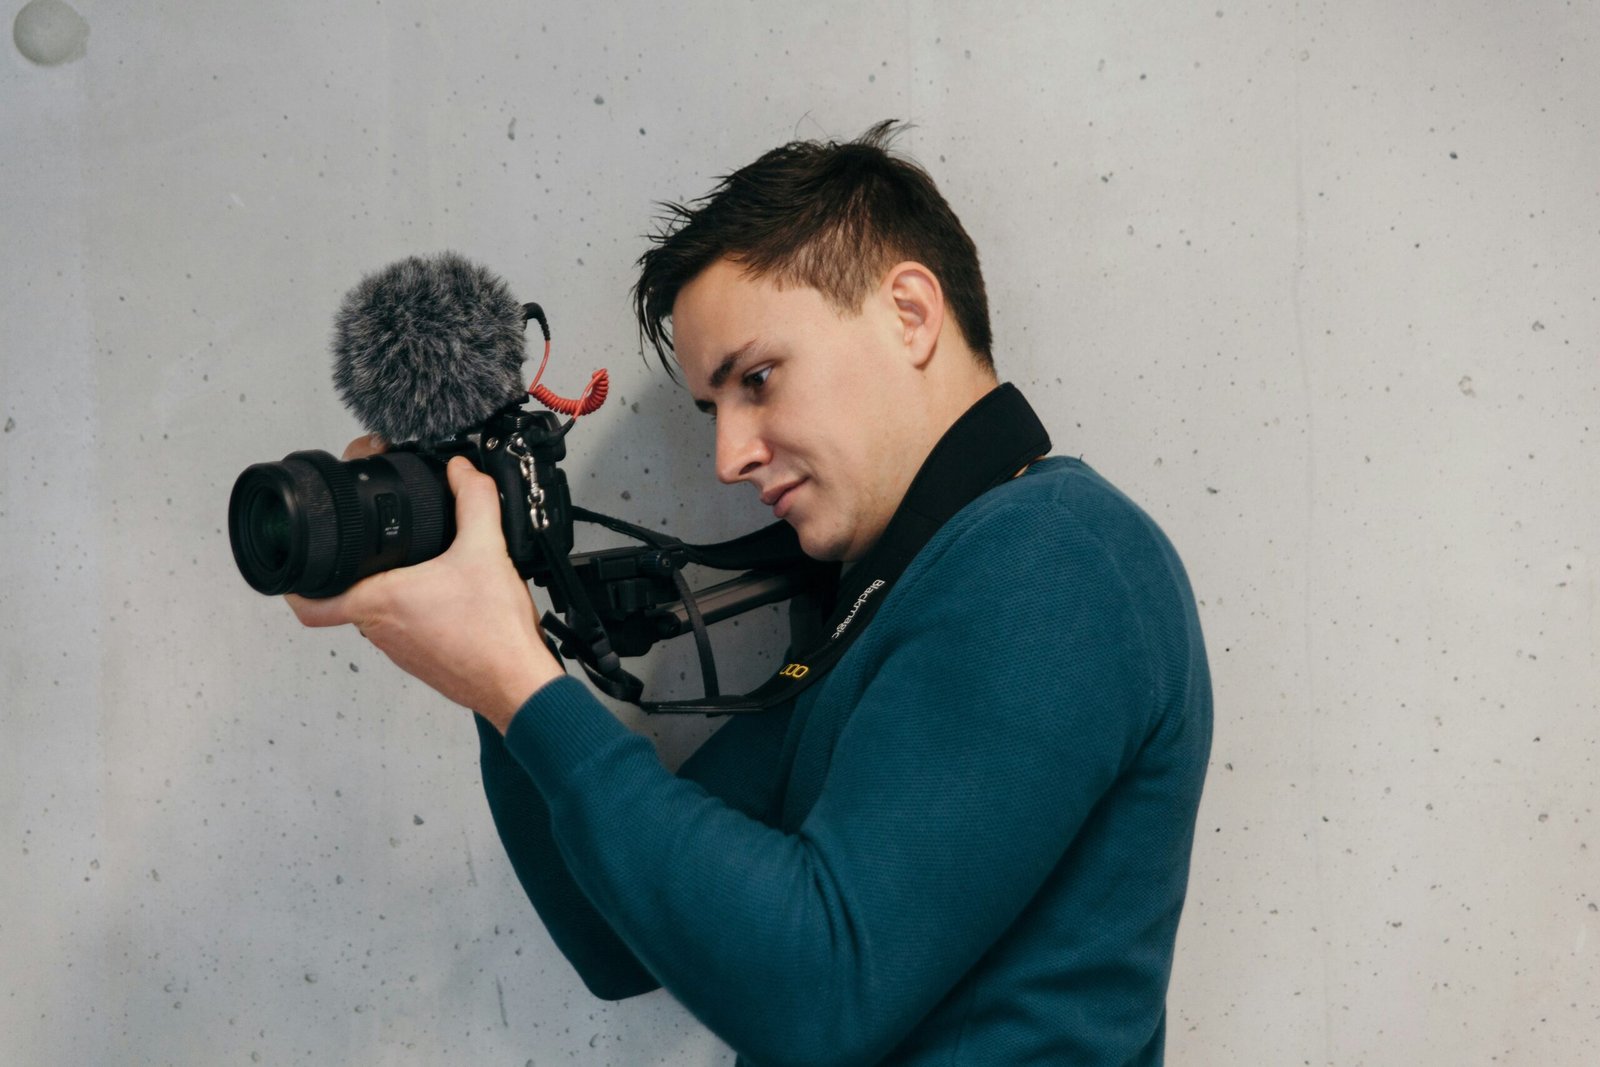
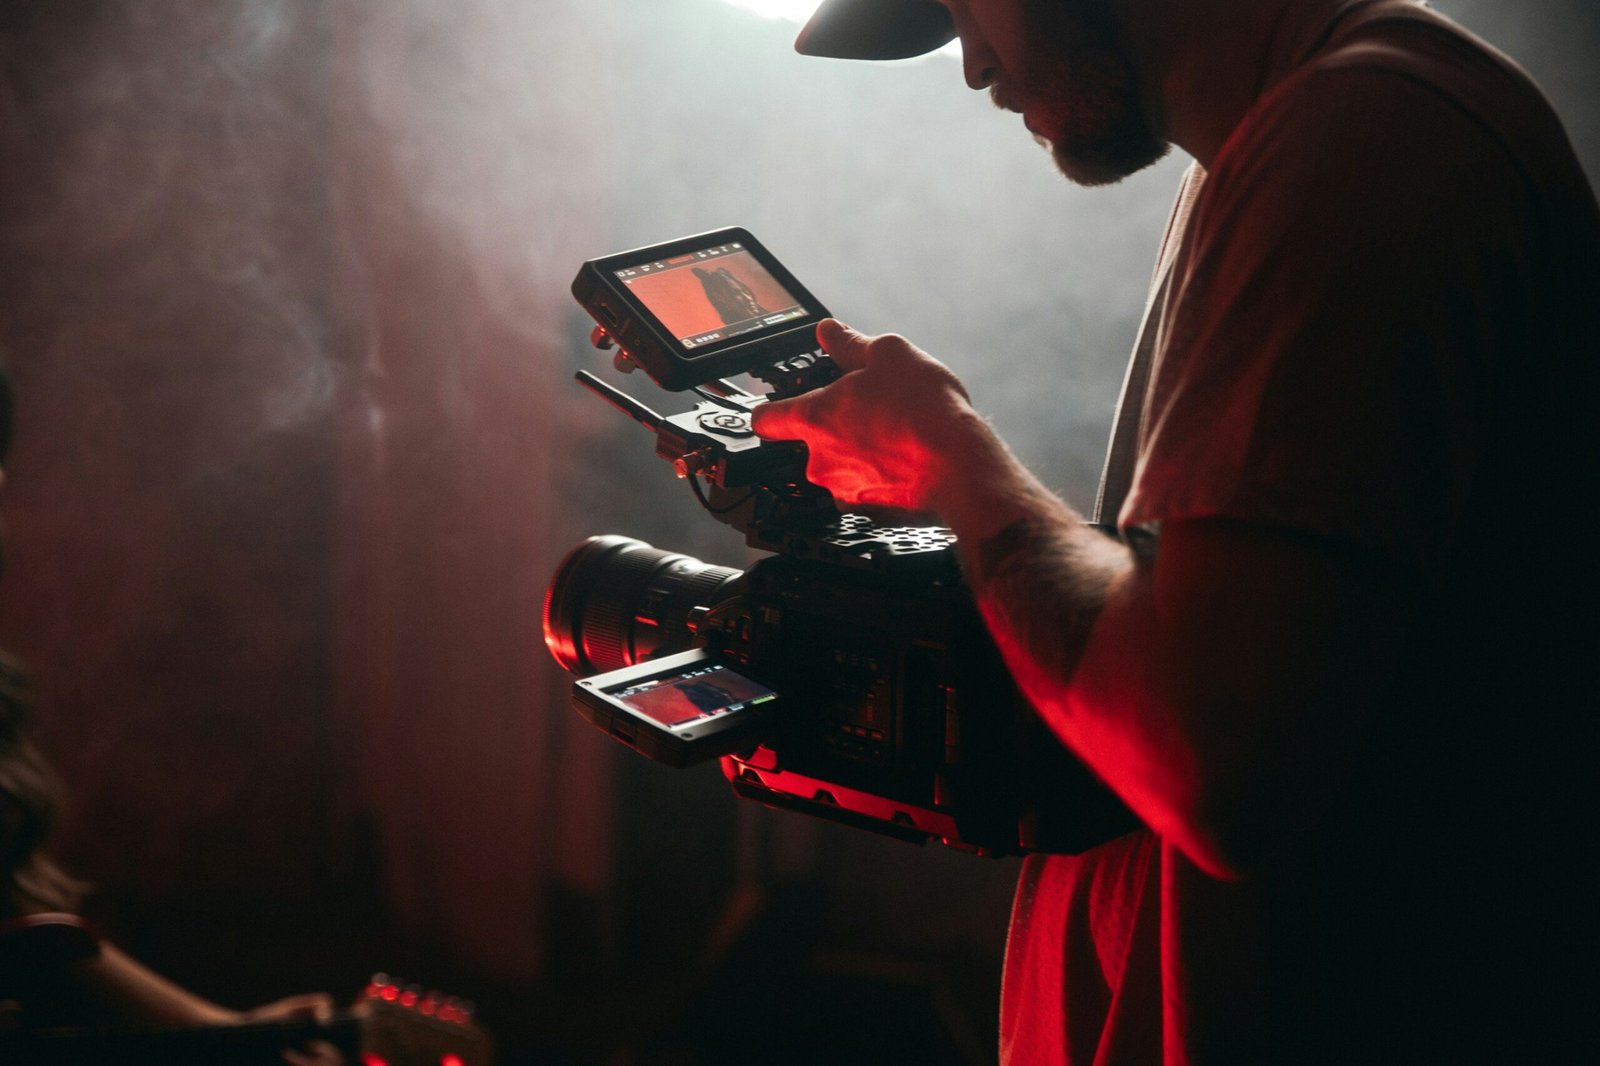
1. Choose the Right Camera
Your camera doesn’t have to cost a fortune, but clarity counts. Webcams like the Logitech C920 offer solid performance without breaking the bank. If budget allows, consider mirrorless cameras paired with capture cards (Elgato HD60 S+).
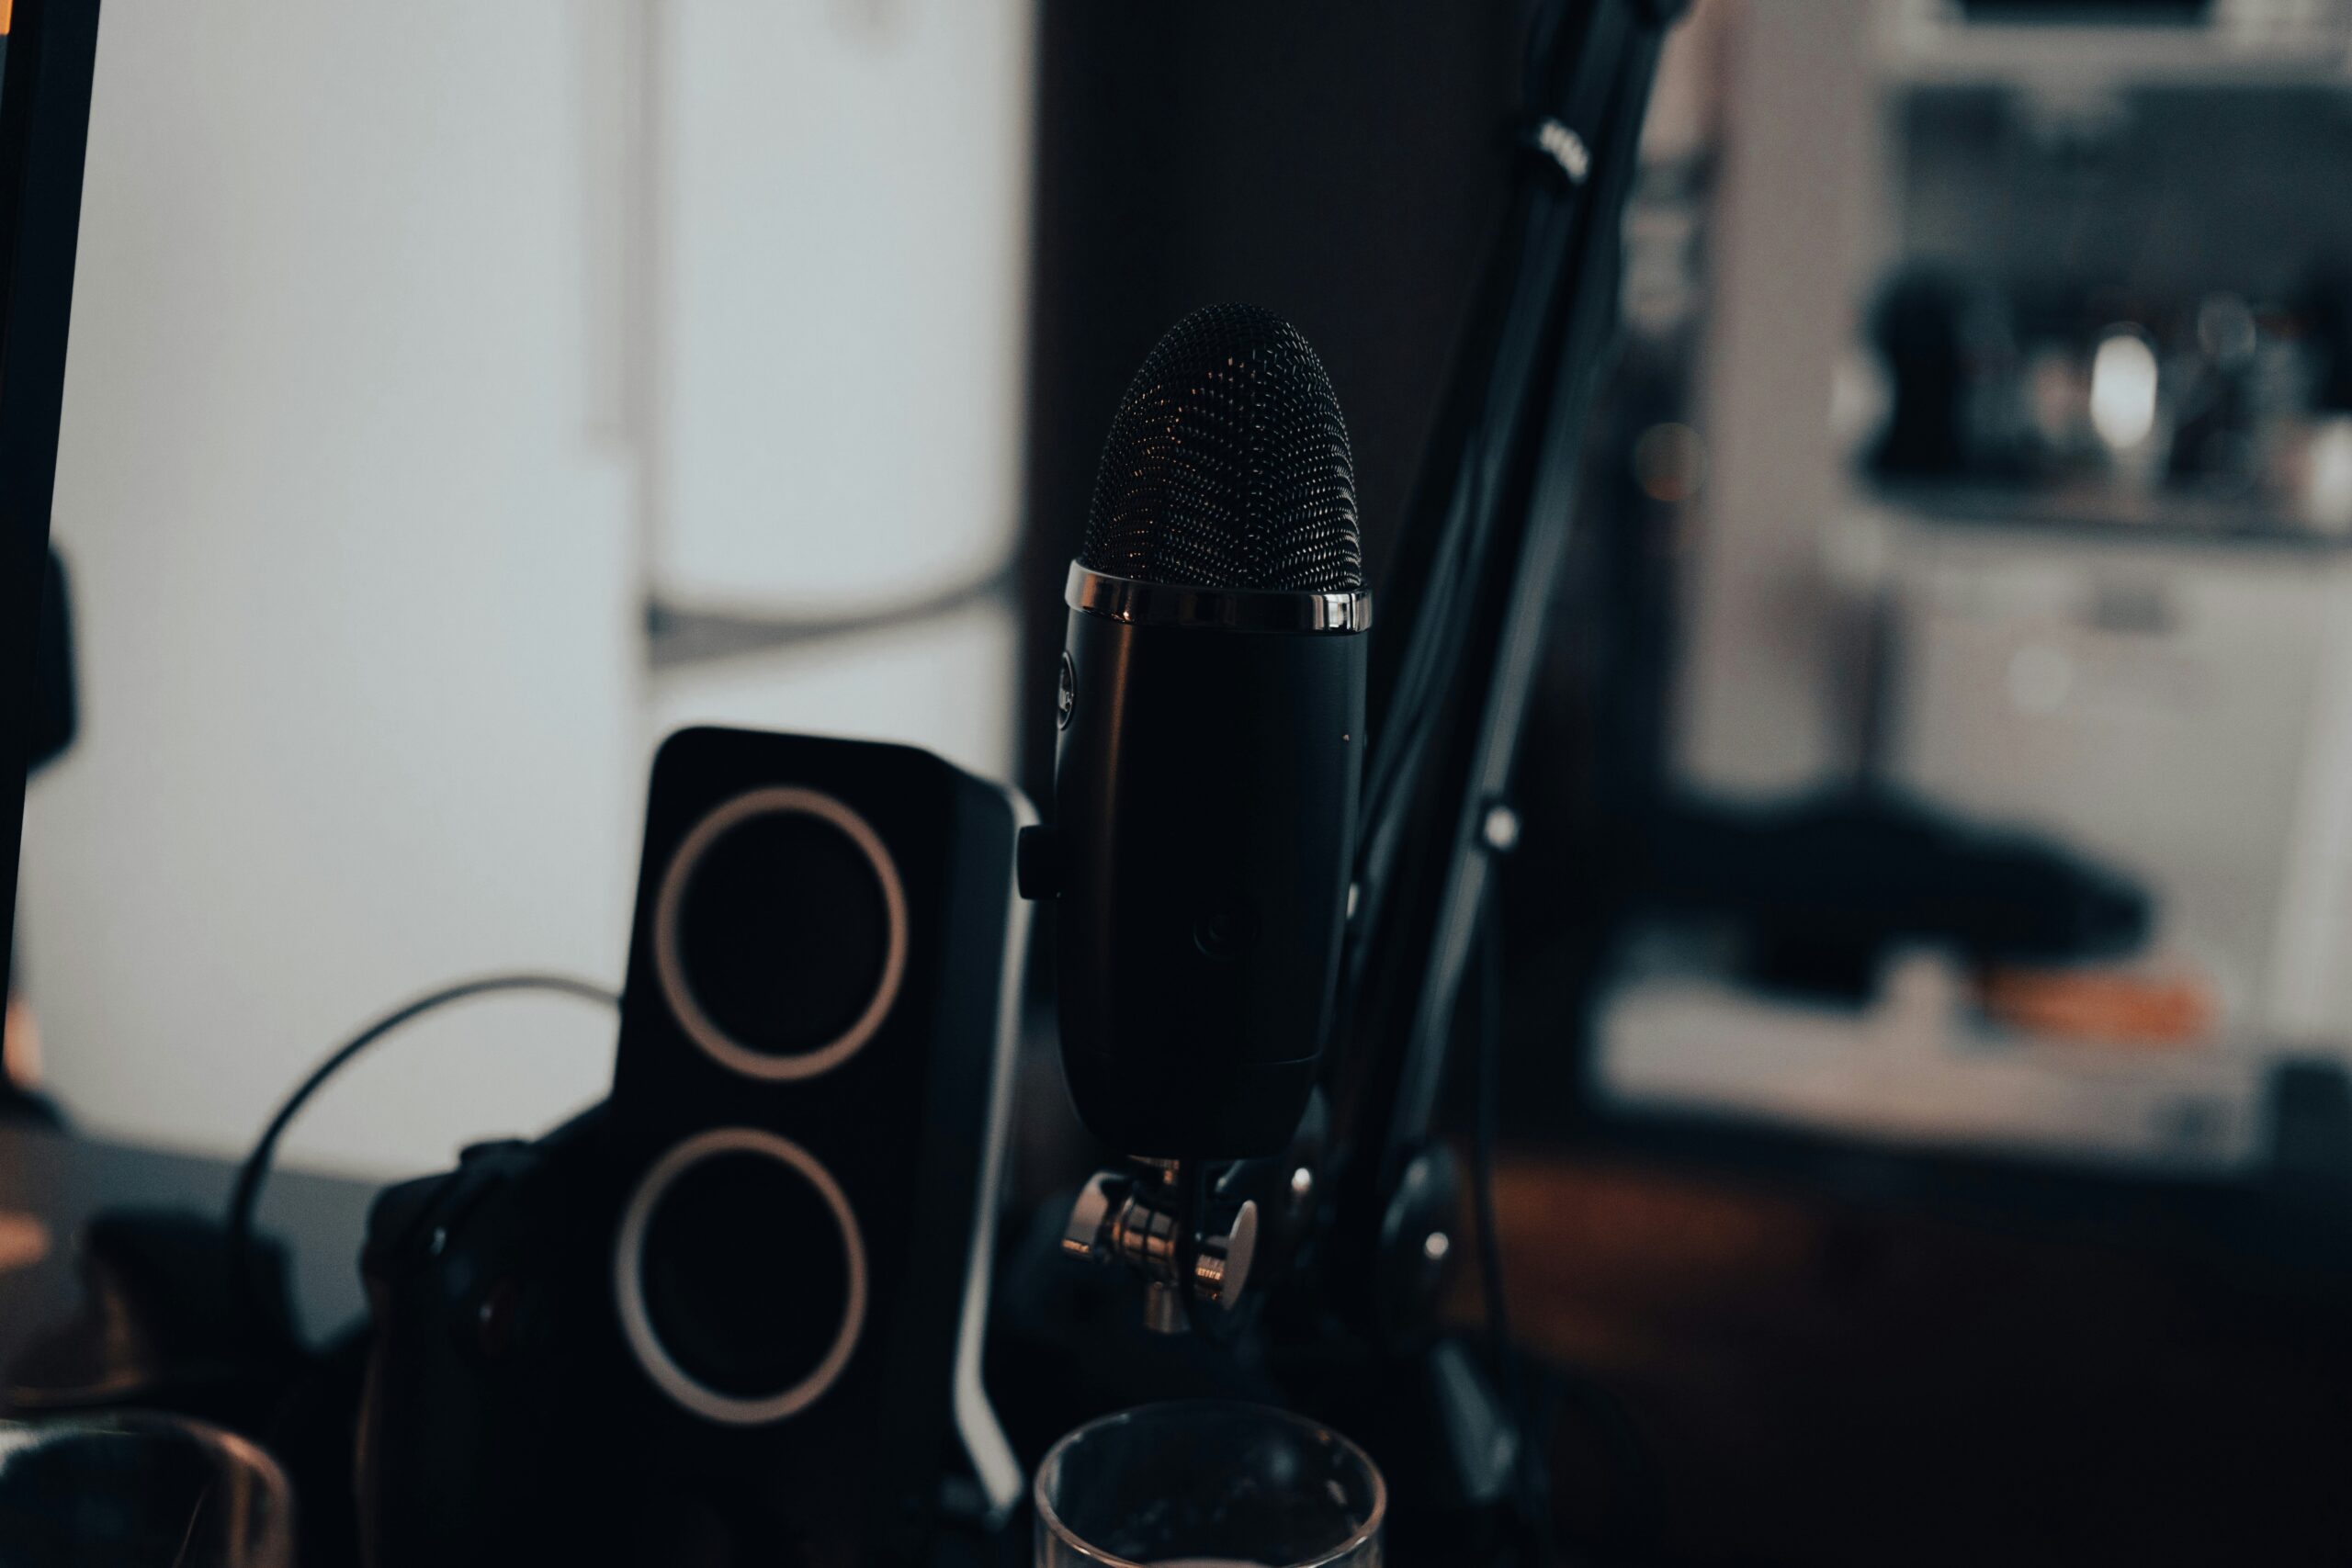
2. Invest in Decent Audio
Sounds like your laptop fan during a 4K render—whirrrr. We get it; bad audio ruins immersion faster than anything else. A decent USB mic like the Blue Yeti or Rode NT-USB works wonders.
3. Prioritize Lighting
You’d be surprised by how many creators ignore lighting. Softbox lights placed at angles eliminate harsh shadows. Natural light helps too but isn’t always reliable. Consider something portable like the Neewer Ring Light.
4. Pick Reliable Software
OBS Studio is free and wildly popular among streamers. Its customizable scenes and overlays let you personalize every detail. Streamlabs OBS offers similar features plus built-in widgets.
Pro Tips for Streamlining Your Trials
Thinking about skipping the warm-up stream? Don’t. Test runs are golden opportunities to catch quirks before they become disasters live. Beyond that, here are some pro tips:
- Set Scenes in Advance: Pre-design scenes so transitions feel seamless. Add intro videos, intermissions, or end screens.
- Check Internet Speed: Aim for upload speeds above 5 Mbps. Tools like fast.com help check connectivity easily.
- Backup Power: Keep a UPS handy. No one wants their trial interrupted by a power outage.
Terrible Tip Alert:
“Ignore sound checks until launch day.” Please don’t do this. Trust us; nothing screams amateur hour louder than distorted audio ruining your opening remarks.
Real Success Stories: What Worked for Them
We chatted with Sarah K., who went from streaming mishaps to growing her Twitch channel to 10k followers in six months. Her secret? She focused heavily on lighting. “I invested in softboxes and bounced around different placements until I found what worked best,” she recalls.
Meanwhile, Jake M., a YouTuber turned streamer, credits his success to thorough testing phases. “Every time I added new gear, I ran mock streams first. It saved me headaches later when real people joined live.”
FAQs About Streaming Setups
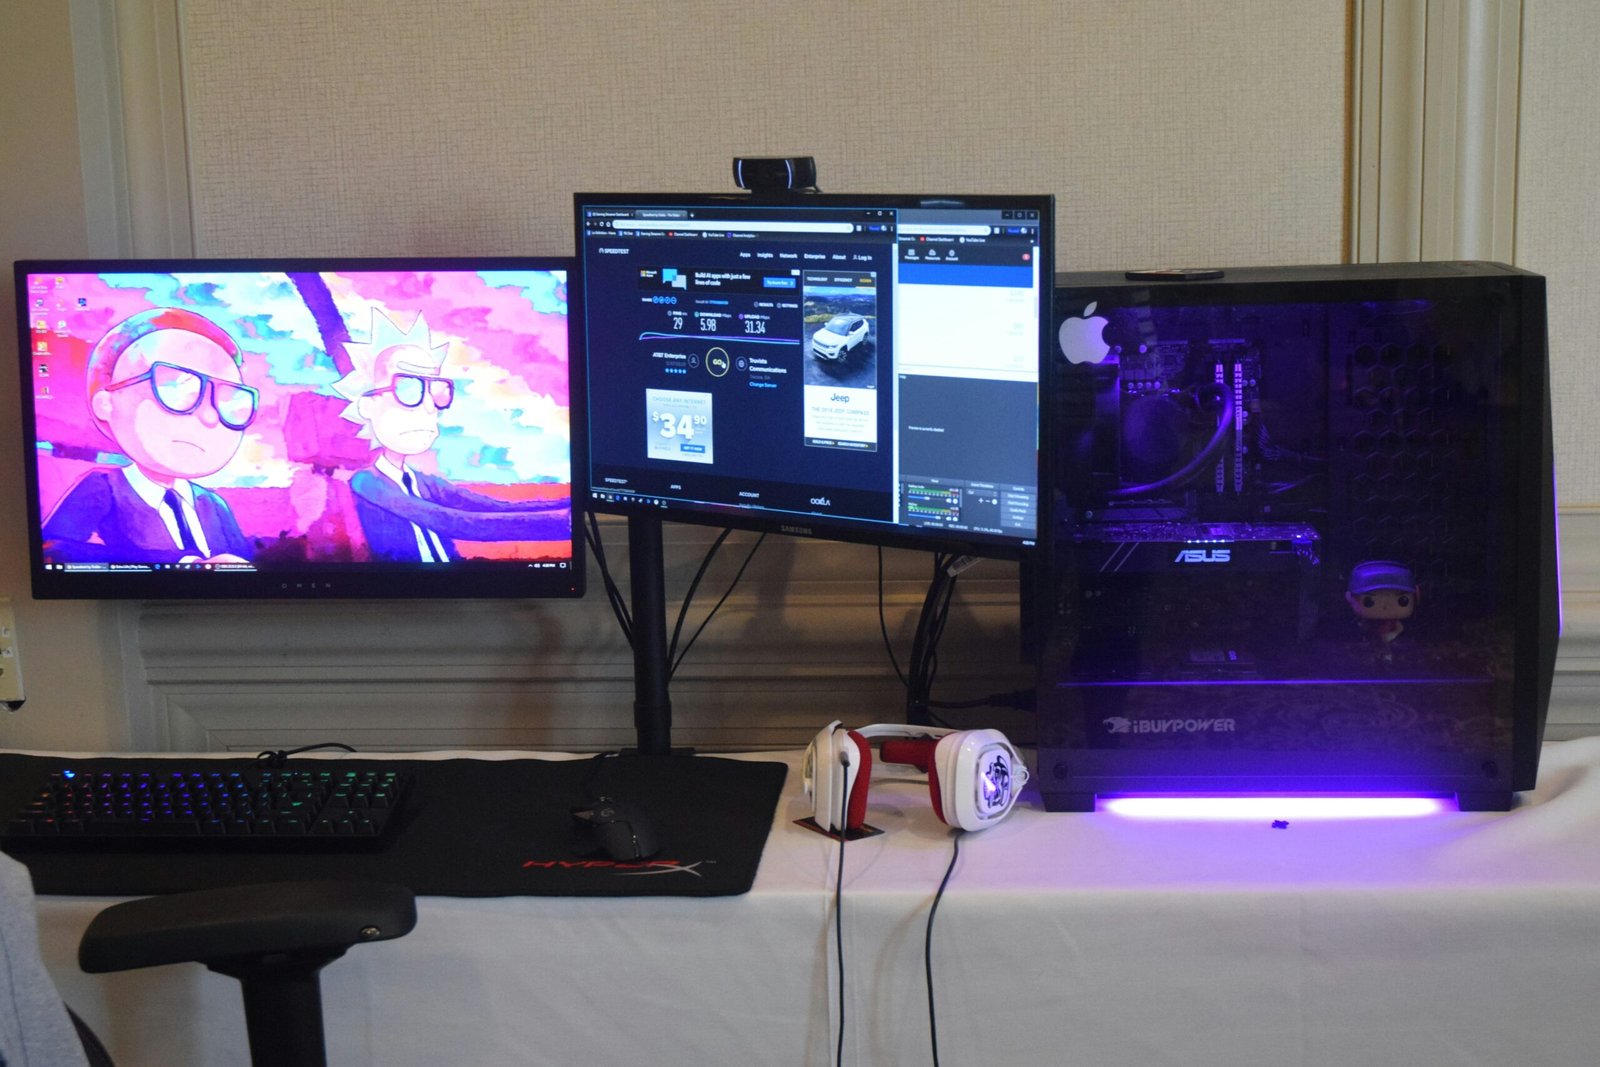
Do I really need a separate PC for streaming?
Nope! Many streamers use gaming PCs with dual purposes. Just ensure yours has sufficient RAM (16GB minimum) and a decent GPU.
How much should I spend on my initial setup?
Start simple—around $300-$500 covers basics like good lighting, audio, and basic software. Upgrade incrementally based on needs.
What’s the most common mistake beginners make?
Overlooking internet stability. Use Ethernet instead of Wi-Fi whenever possible, and test connection strength before broadcasts.
Conclusion
Building the perfect streaming setup guide-worthy station takes patience and experimentation. Focus on creating a foundation tailored to your goals, then refine as needed. Remember, perfection comes over time—not overnight.
Like a Tamagotchi, your SEO and streaming need daily care. Now go crush those trials!
“Streaming cables tangled tight,
Lighting fixed—it feels so right,
Coffee fuels this late-night fight.”

